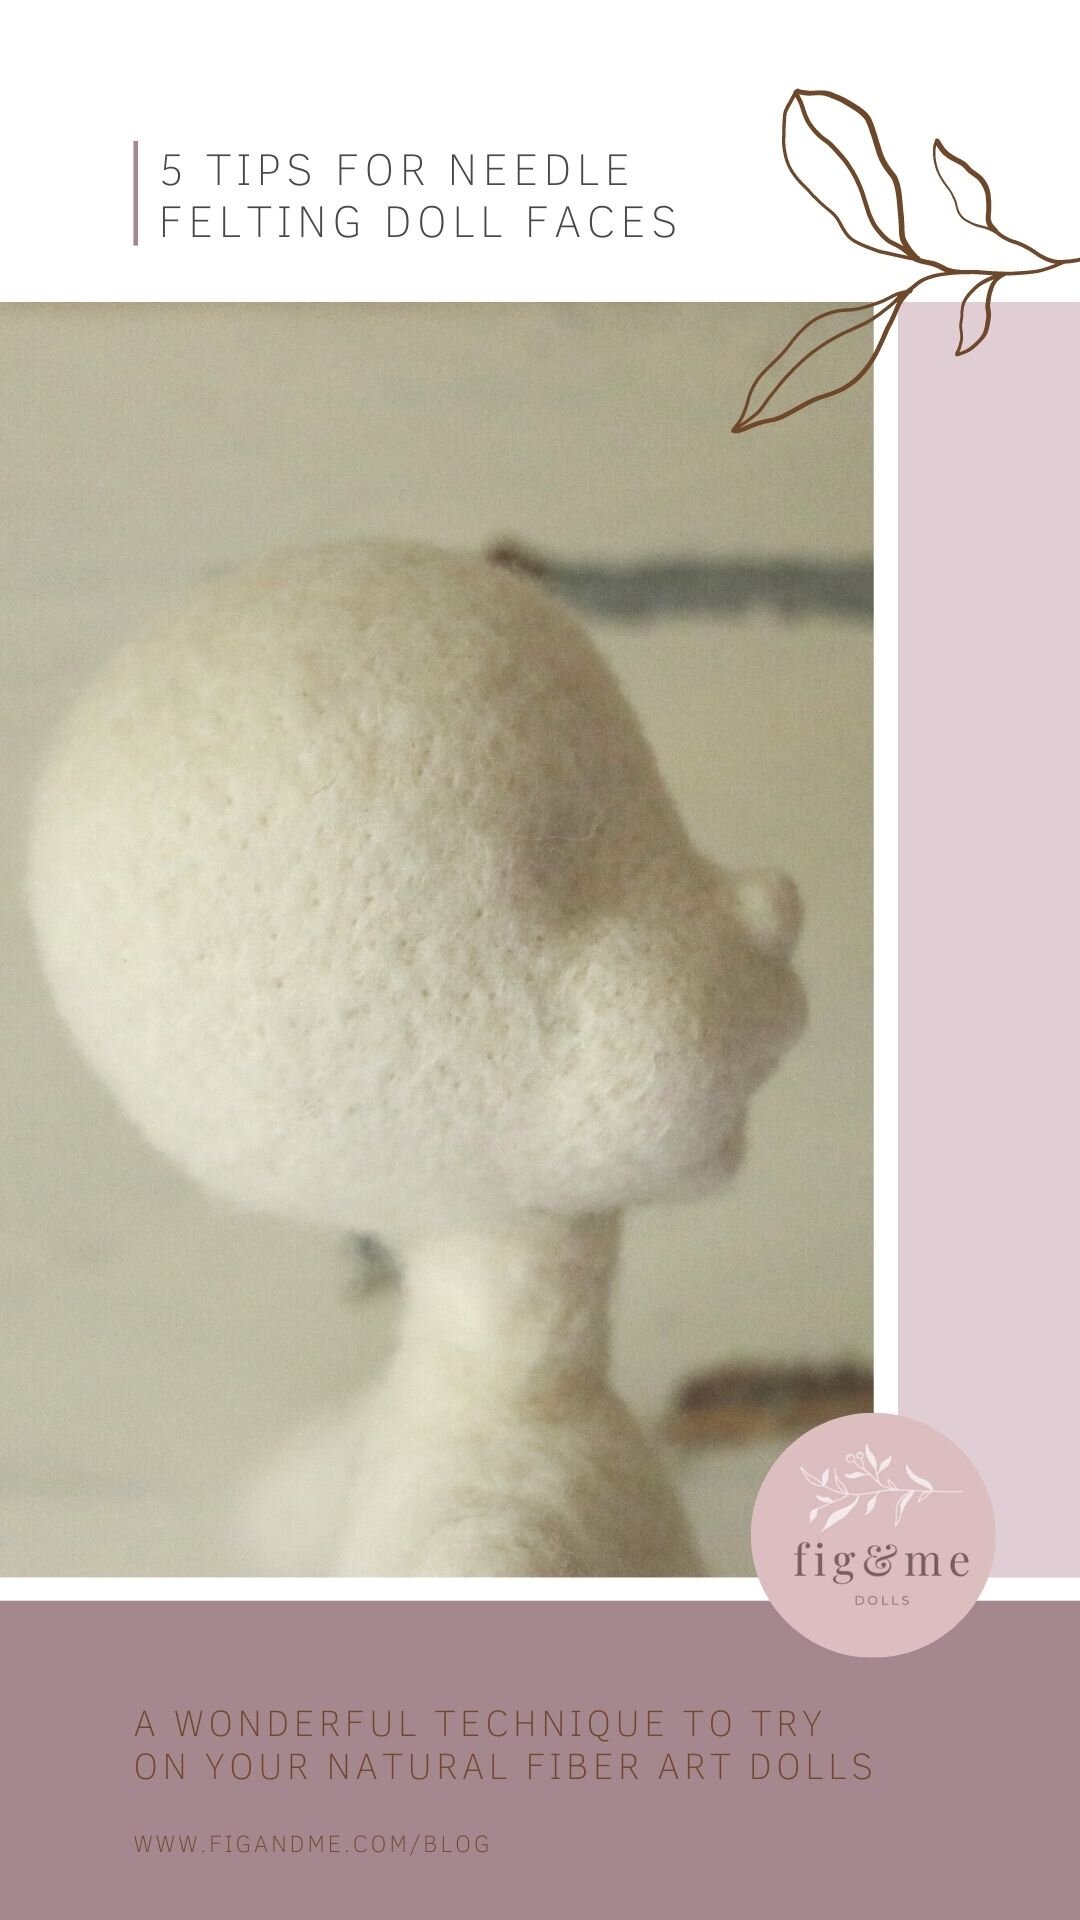
5 Tips for Needle Felting Doll Faces
Today I want to share with you some simple tips for Needle felting doll faces, especially in the natural fiber art doll realm.
Needle felting helps you achieve more depth on your doll’s expression as well as add a lot more details that are very fun to create.
As most of you already know, I have built a very large needle felting class (so large that I had to split it into three different classes) and I am getting very excited because the first class will open its doors soon.
But then, I thought it wise to come and share with you some hard-earned (over ten years of experience stabbing my fingers!) but simple tips for Needle felting doll faces; tips that I initially shared with my Patreon subscribers back in 2019.
Needle felting is such an amazing fiber art and I definitely encourage you to try it. It is a vast art world of soft and tender fibers, nasty poking needles and so many avenues to explore.
You do not need to needle felt your doll’s faces in order to make them beautiful, but it certainly helps exploring this technique. It will allow you to add firmer features, which helps once you sculpt the fabric, and it can help you develop your own artistic interpretation in this magical dollmaking world.
If you would like to see these tips in video form, you can watch the video below:

A lot of dollmakers are enticed by the world of opportunities it offers, as you can customize and impart more of your creative essence to a simple waldorf doll's body or face, also providing you with ways to add movement, shape and other clever techniques to use during the doll's assembling process, especially if you are venturing into the microcosm of natural fiber art dolls.
But let’s be clear: needle felting natural fiber art dolls is certainly not the same as needle felting art figurines, table dolls or wool landscapes, though knowledge in any of these areas will certainly help you and give you a little bit of advantage over a total newbie to the needle felting world.
I think mainly it will be that your hand-to-eye coordination would be more accurate, saving you from painful stabs on your fingertips.
The very big difference lies in the fact that you will cover the entire sculpture in fabric, so you need to think of it in terms of firmness, sturdyness and smoothness.
Also, you will be doing the entire thing in what is called “core wool” in the needle felting world, but in the natural fiber art doll world we use the term “wool batting”.
This is a material where all the fibers are going in many different ways, instead of combed in just one way (like roving) allowing you to felt faster much larger areas of “doll”.
If you are interested in needle felting, you are in good luck because I am preparing an article and accompanying video discussing some of the main principles, defining some terms and explaining techniques and materials, but for now I can give you some tips if you have already started.
These tips will come in handy if you have been trying to needle felt doll faces to be covered later in fabric and you are not quite sure what went wrong or where the mistakes were made.
If you are anything like me, and like to learn by the seat of your pants, then needle felting will keep you busy for years to come. Please know that you do not have to do all these 5 things, they are just tips that might help you understand how to needle felt a doll’s face better.
Disclaimer: I am a very organic needle felter, I rarely use strict measurements but I do like having something there to guide me. Sometimes I just use the quadrants and almost never use a template. But I have seen how these tips have helped my students who are just learning to needle felt so I have to come see their helpfulness.
I do roll all my doll’s facial features and I always sculpt the mouth line before I add lips.

My top 5 tips for needle felting doll faces, via fig&me
Tip #1: Divide the face into quadrants
First off I encourage you to divide the face of your doll to give you areas to concentrate your stabbing efforts.
Once you start moving the head around it is easy to loose sight of what's right, what's left and what is too much.
Having guidelines placed over the face will help you always keep in mind which is the top of the doll's face, where the eyes will be placed, where are we adding cheeks, etc. It will also help you start forming the face with more symmetry in mind.
Drawing a centre line and where you want the eye line to be are two of the most essential face divisions you can make to guide you as you start deciding where everything should be placed.
It will also train your eye and help you discern if your wool head is not entirely symmetrical so you can work a little to bring more symmetry into the face. I like to measure from line to line, just to help me see where there is a bigger bump in the face, etc. Then I can add wool or felt down said area and start adding layers to slowly build the face features I am after.

My top 5 tips for needle felting doll faces, via fig&me
Tip #2: Mark the placement for each feature
Having a mark placement for each feature will help you see where everything goes and wether you need to make something smaller or larger to fill an area more harmoniously.
You can see where you will place the nose and it that is too high up or low on the face. Same with the chin, if you are after a tiny or wide chin, you can see it and compare it to the nose and overall face.
If you make the nose and then add the chin, which is more or less the order of things I normally go by, you can see how much space you have left between these two features and whether a wide or small mouth will look better, and how big or protuberant to make the lips.
All style choices that are left to you to decide.
My top 5 tips for needle felting doll faces, via fig&me
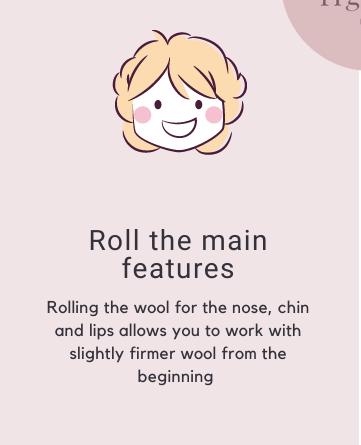
Tip #3: Roll the face features: nose, chin and lips
I encourage you to roll small pieces of wool, as compacted as you can without pre-felting them, and add them in this amorphous shape to your doll's face so that then you can sculpt them faster and with a bit more ease into the shape you are after.
So for a nose, I recommend you to roll a small ball of wool.
For the chin I recommend you roll a more rectangular or squarish shape, that then you can add more layers or shape into whatever little chin you want.
For the lips I recommend you to roll small and tight little "worms" or cylinders that will allow you to shape the lips much faster.
Working with slightly more compacted wool will earn you a few browny points and save you a couple of hours from needle felting tension created on your wrists and fingers.

My top 5 tips for needle felting doll faces, via fig&me
Tip #4: Mark the mouth line and sculpt it first
This is one of my favourite tips and one that I see has helped many of my students to understand how to build all sorts of lips and mouth expression on their dolls.
Draw the mouth line first and sculpt it very deep before you add the lower or upper lip. This will help you keep the shape of the mouth in mind, as well as shaping the lips to comform to the mouth line, versus having the lips in place and then sculpting a deep groove to separate the two.
It will also give you a deeper furrow to sink the knit fabric once you cover the head and face. Having that deep furrow is what helps the doll lips to be more defined, uncovering some of those beautiful wool curves you sculpted.

My top 5 tips for needle felting doll faces, via fig&me
Tip #5: Use a template
I call these “doll templates” and they are very helpful if you are just starting. It’s basically a schematic of your doll face, with guidelines so you know where to make those divisions, the space or measurement between face features, etc.
They don’t have to be highly technical and you can even draw them yourself.
Best thing is to make them to the exact size your doll face will be, so there is less room to make silly mistakes converting measurements by percentages.
I will confess I do not use these templates but they are very handy for my students when I am teaching them how to make a specific doll and they do help to guide them much easier, so I have come to see their usefulness.
You can make a template for the shape of the head, the finished measurements, etc. From time to time, as you are needle felting you can compare your doll’s head to the template and see how far or how close you are to the intended grand plan.
I believe that with time perhaps you won’t need to make a template for each face you want to sculpt, as your hands will know what to do and your eyes will guide you, but they can definitely improve on the overall technique of your needle felting if you are just starting out.
So that’s it for today’s post regarding needle felting. I truly hope these tips are helpful to you and that they give you food for thought. Perhaps they are too basic and you are already doing all of them, or perhaps you never thought to approach needle felting a doll face this way.
Either way, thank you for coming over and reading this post. If you have questions or tips yourself, please be sure to post in the comments. I love it when people leave comments on my blog, even if just to say thanks.
Now, wish me a little bit of luck and patience to put together this other longer post as an introduction to the wonderful world of needle felting natural fiber art dolls. If you would like to read more of my articles on dollmaking, you can find most of them here: