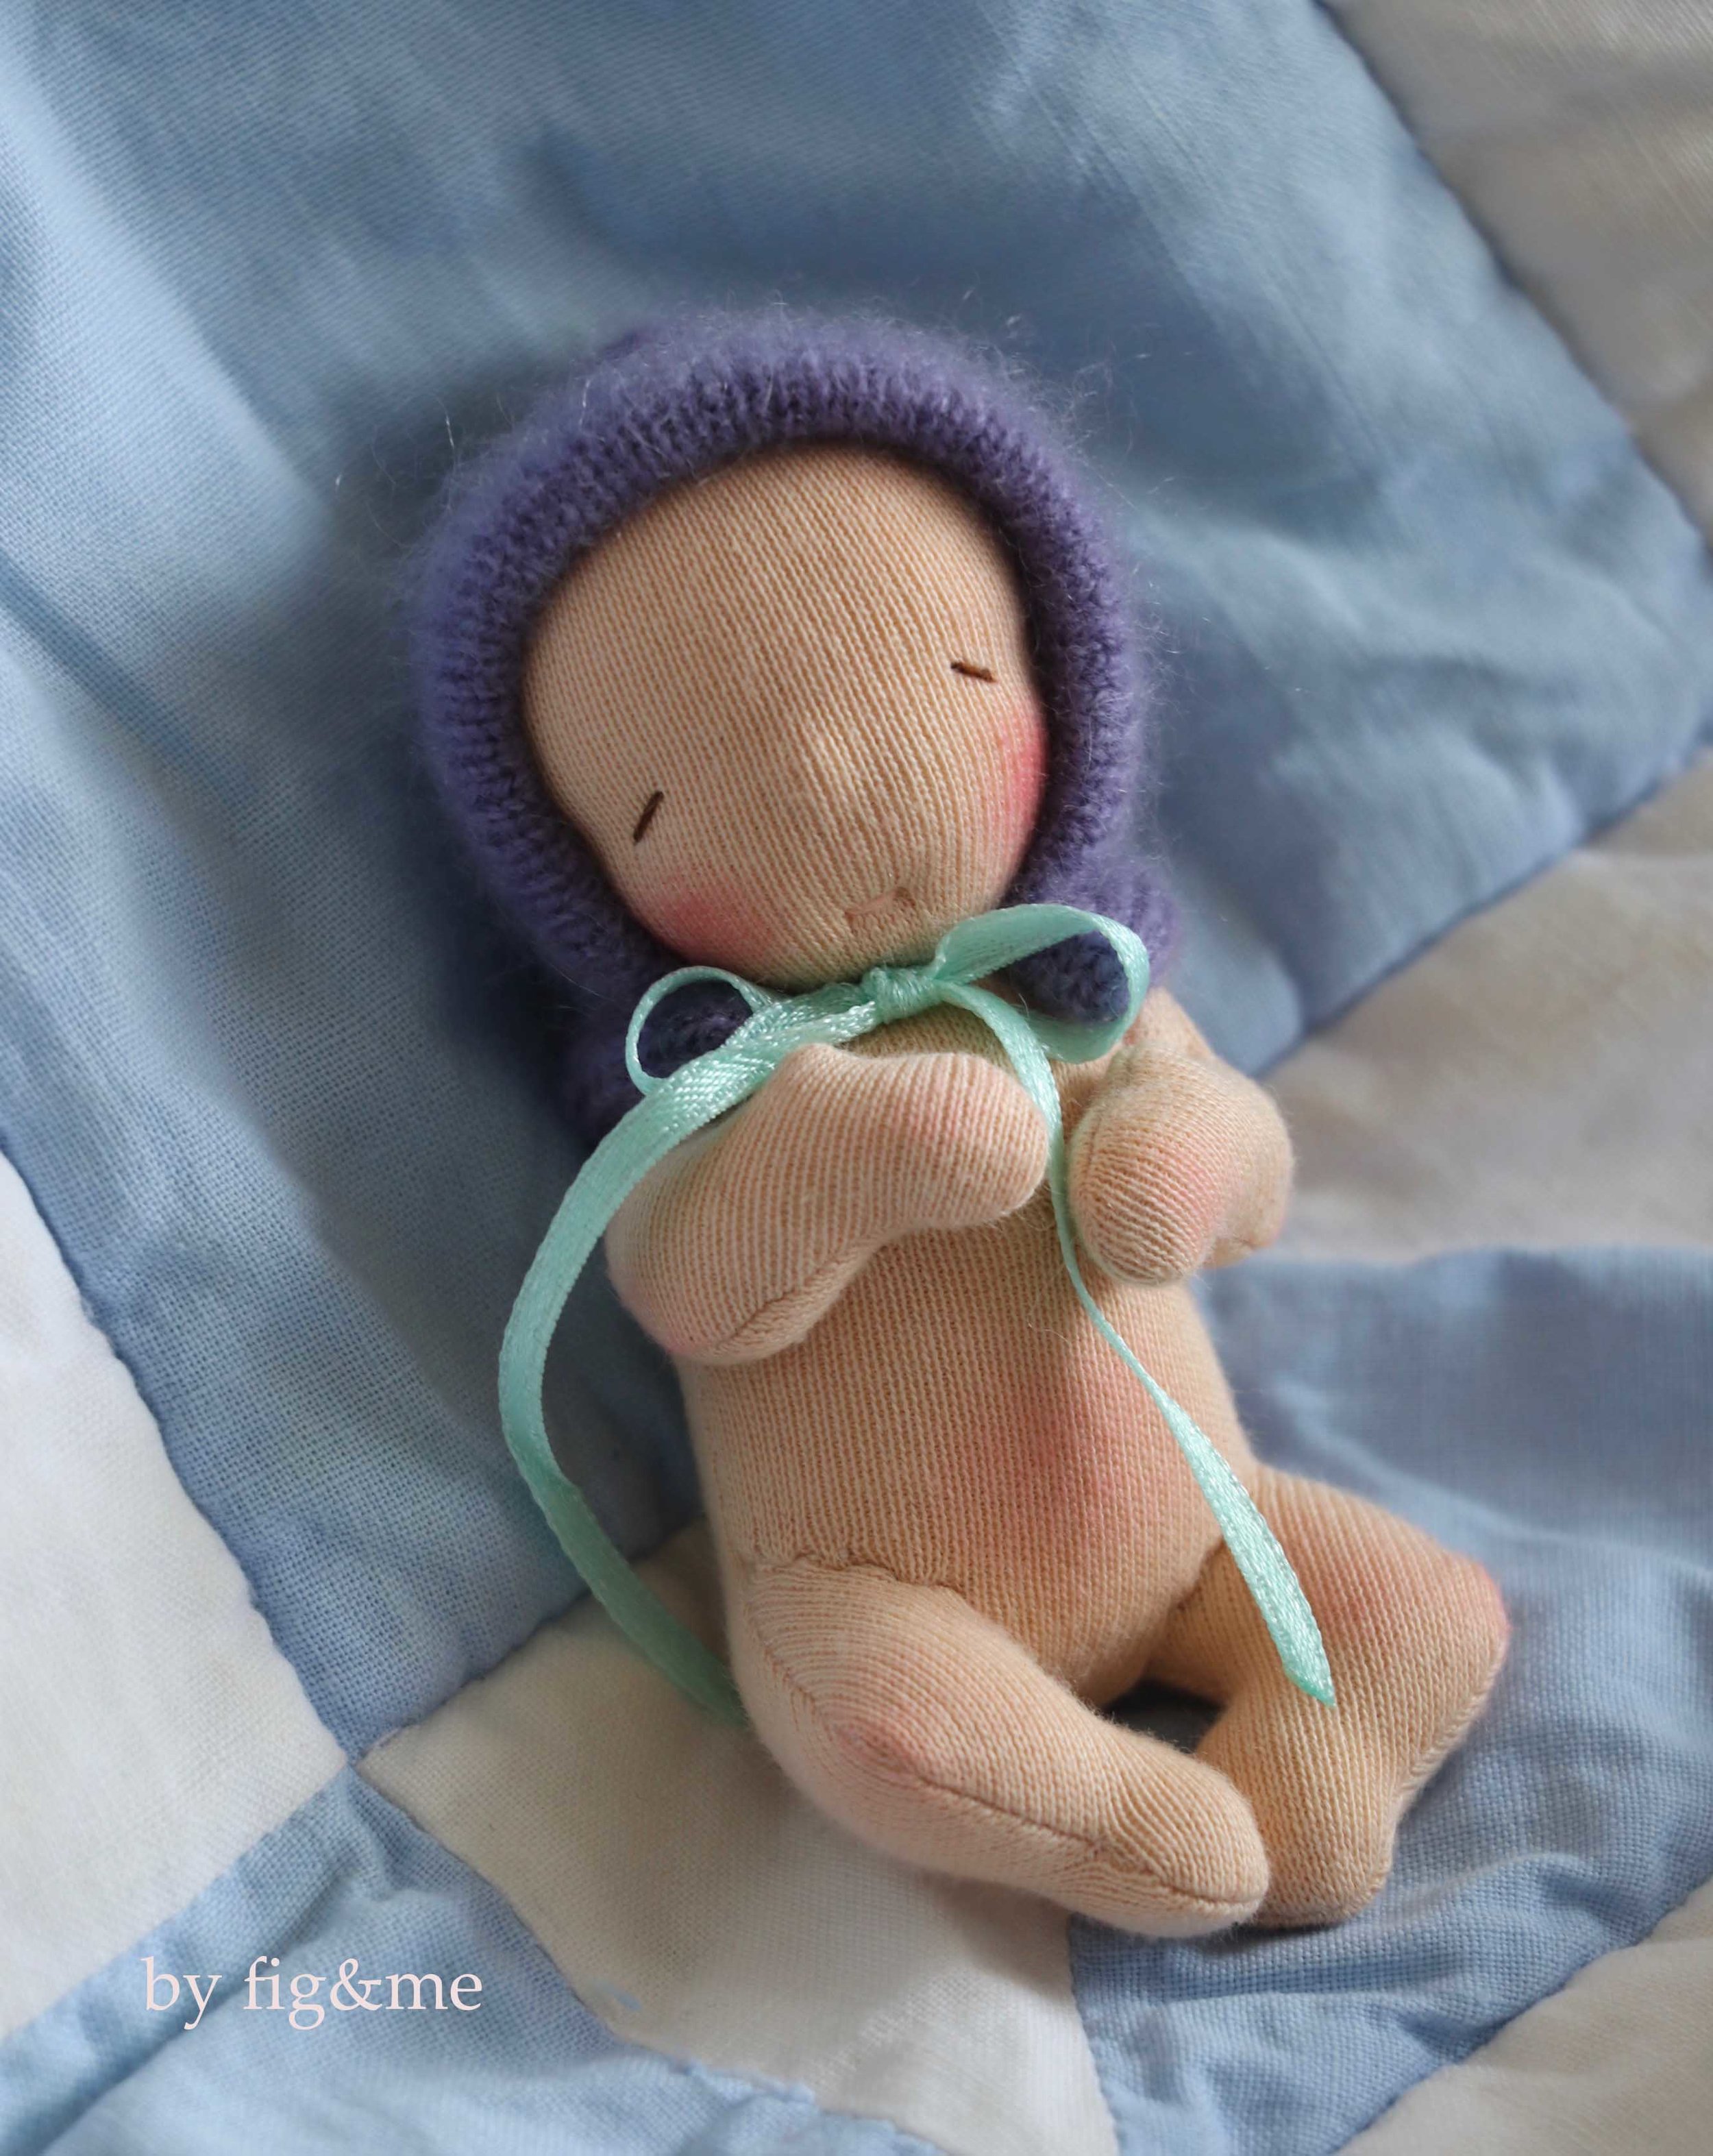
In the Nursery, dollmaking pattern for little baby dolls
Though I promised this one quite some time ago, you had to wait longer than usual for it to be ready for your making hands. Trans-Atlantic trips, workshops and a few more fun adventures interrupted me but here we are: now you can choose from three different body patterns to make this sweet little doll.
In my April’s Love Letter (the monthly newsletter I am supposed to send religiously to you, though I miss a month here or there) I told you it contained 5 different versions for the baby’s body. But as usual when editing my designs, I nix things (or should I say bodies?) and end up with a more refined version and to be honest, a doll making e-book that I am extremely proud of. I am a bit sick at the moment so excuse the lack of veritable excitement, I am very happy with this e-book but I can barely type this to you through the constant sneezing.
Unlike my other doll making patterns, this one is not as intense nor serious. You will be creating a 4 inch doll and how can you be so serious when you are working with the tiniest of seam allowances and tufts of wool that disappear fluffily into the air? I say this pattern teaches you simple techniques so it is appropriate for a beginner to an advanced dollmaker, but only one that can persevere through sewing tiny thumbs!
All you need to do is be very patient with the small seams, use hemostats or forceps to turn things right-side out without frustration and take your time while you make the babies. That’s it. You won’t be needle-felting or even adding hair but the results won’t lack charisma or through-the-roof charm. See for yourself.
All three dolls use the same tutorial for the head and you can use a variety of different body patterns. The curled-up baby, the one shown in the above photo, was the first one I created and I was determined to add more body options, so I came up with a pouch-style body (not pictured) and the one with straight legs and arms which I call the Star Baby. The last two are weighted with glass beads, so they can stand more easily, but not the curled-up baby.
For the curled up baby you sew the arms and legs into this adorable position and there are also three different ways to embroider the eyes so you can choose the expression you most desire for your tiny baby.
As is my aim to reuse beautiful natural fabrics as much as possible, I recommend you use a re-purposed sweater for the body of the Pouch Baby or the Star Baby. Not only can you use material you already have at hand, you can give it a new life and reincarnate it into a beautiful doll. I recommend you use light-weight to medium-weight fabrics as the dolls and body patterns are quite small. My favourite as always: cashmere.
All the ingredients are listed on the Etsy listing of the pattern, so if you want to get started making tiny babies for your own doll nursery, you can head over here right away.
Now, the purple bonnet the baby is wearing is not included in the pattern but here are the very simple instructions:
Baby Bonnet Instructions
1. Cut a piece of wool or cashmere knit fabric, measuring 3,5” wide by 3,5” long.
2. Right sides together, fold in half so that the “ribs” of the knit are going the right away around the face. Look at photo above.
3. Sew both short ends (the sides of the bonnet) with a 1/4” seam allowance. Do not make a seam along the long raw-edge side.
4. Turn right side out.
You will have a little piece of knit fabric, with two enclosed seams to the sides and one long raw edge.
5. Now, fold it in half again, to close the “centre back” seam. Use a 1/4” seam allowance.
6. Finish the raw edges with a serger or zig zag.
7. Thread very thin ribbon, with the help of wide-eye blunt needle, through the bottom end of the bonnet and voila. I threaded mine a 1/4” from the bottom edge to create a little bit of a “flounce”. Since the wool knit is thin and so is the ribbon, this creates a simple way to “cinch” the bonnet to the desired baby’s look.
The pattern comes with full instructions and step-by-step photos of course, as all my patterns. But if you need further assistance you are welcome to ask as many questions as you need. So now you can go and make your own! If you make some tiny babies please don’t forget to show me. I love seeing photos of what other loving hands create with my patterns.
I made quite a few of them as I was testing the pattern and editing the design so we have a “gaggle” of little babies in the studio and we simply can’t stop cuddling them in our hands. They are the perfect addition for natural, open-ended play.
I know for a fact you will giggle once you make one. Yes, you’re welcome!
Just click on the button below and you will be re-directed to the store where you can read more about the dollmaking e-book. Thank you so much for all your support and for spending some time making dolls with one of my doll patterns.


