Needle Felting a Doll's Face in Wool: Young Child Edition
I have now (2024) opened registration for my Needle Felting a Doll’s Face Online Class, Young Child edition.
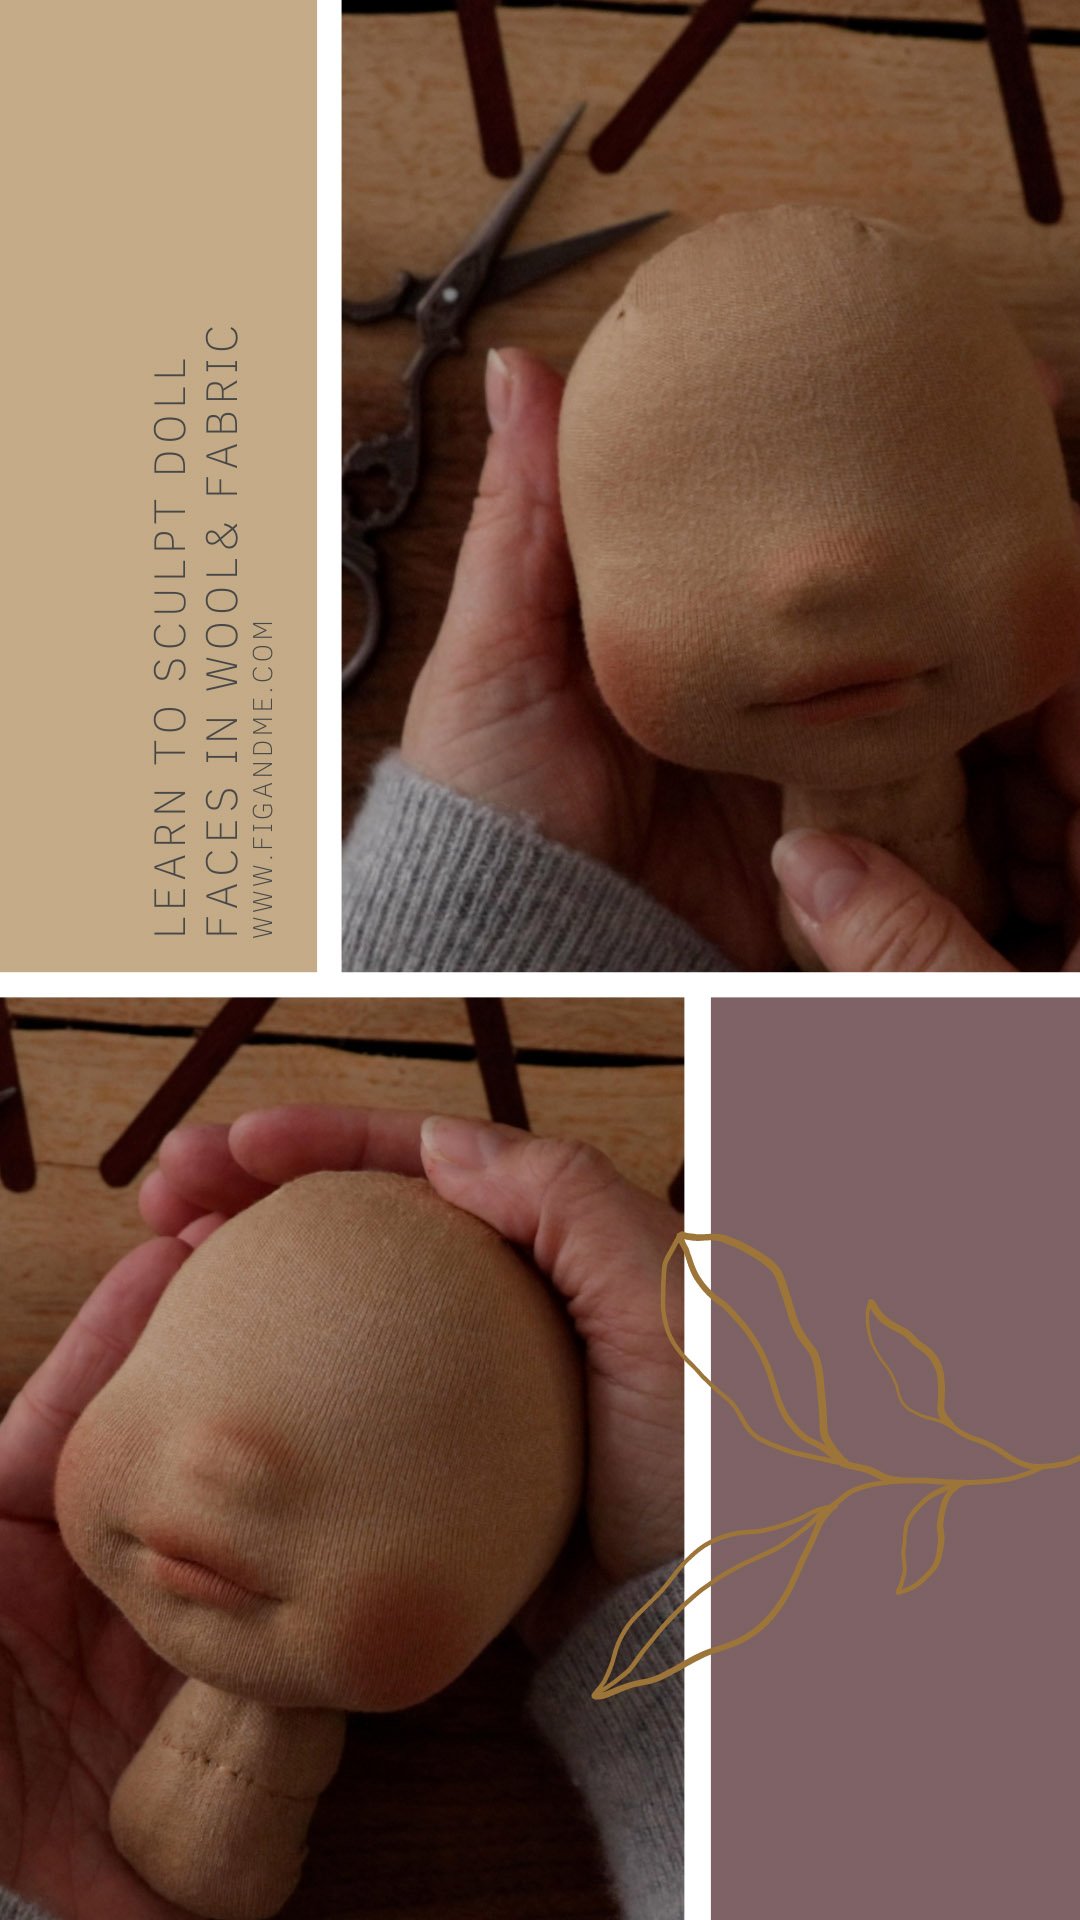
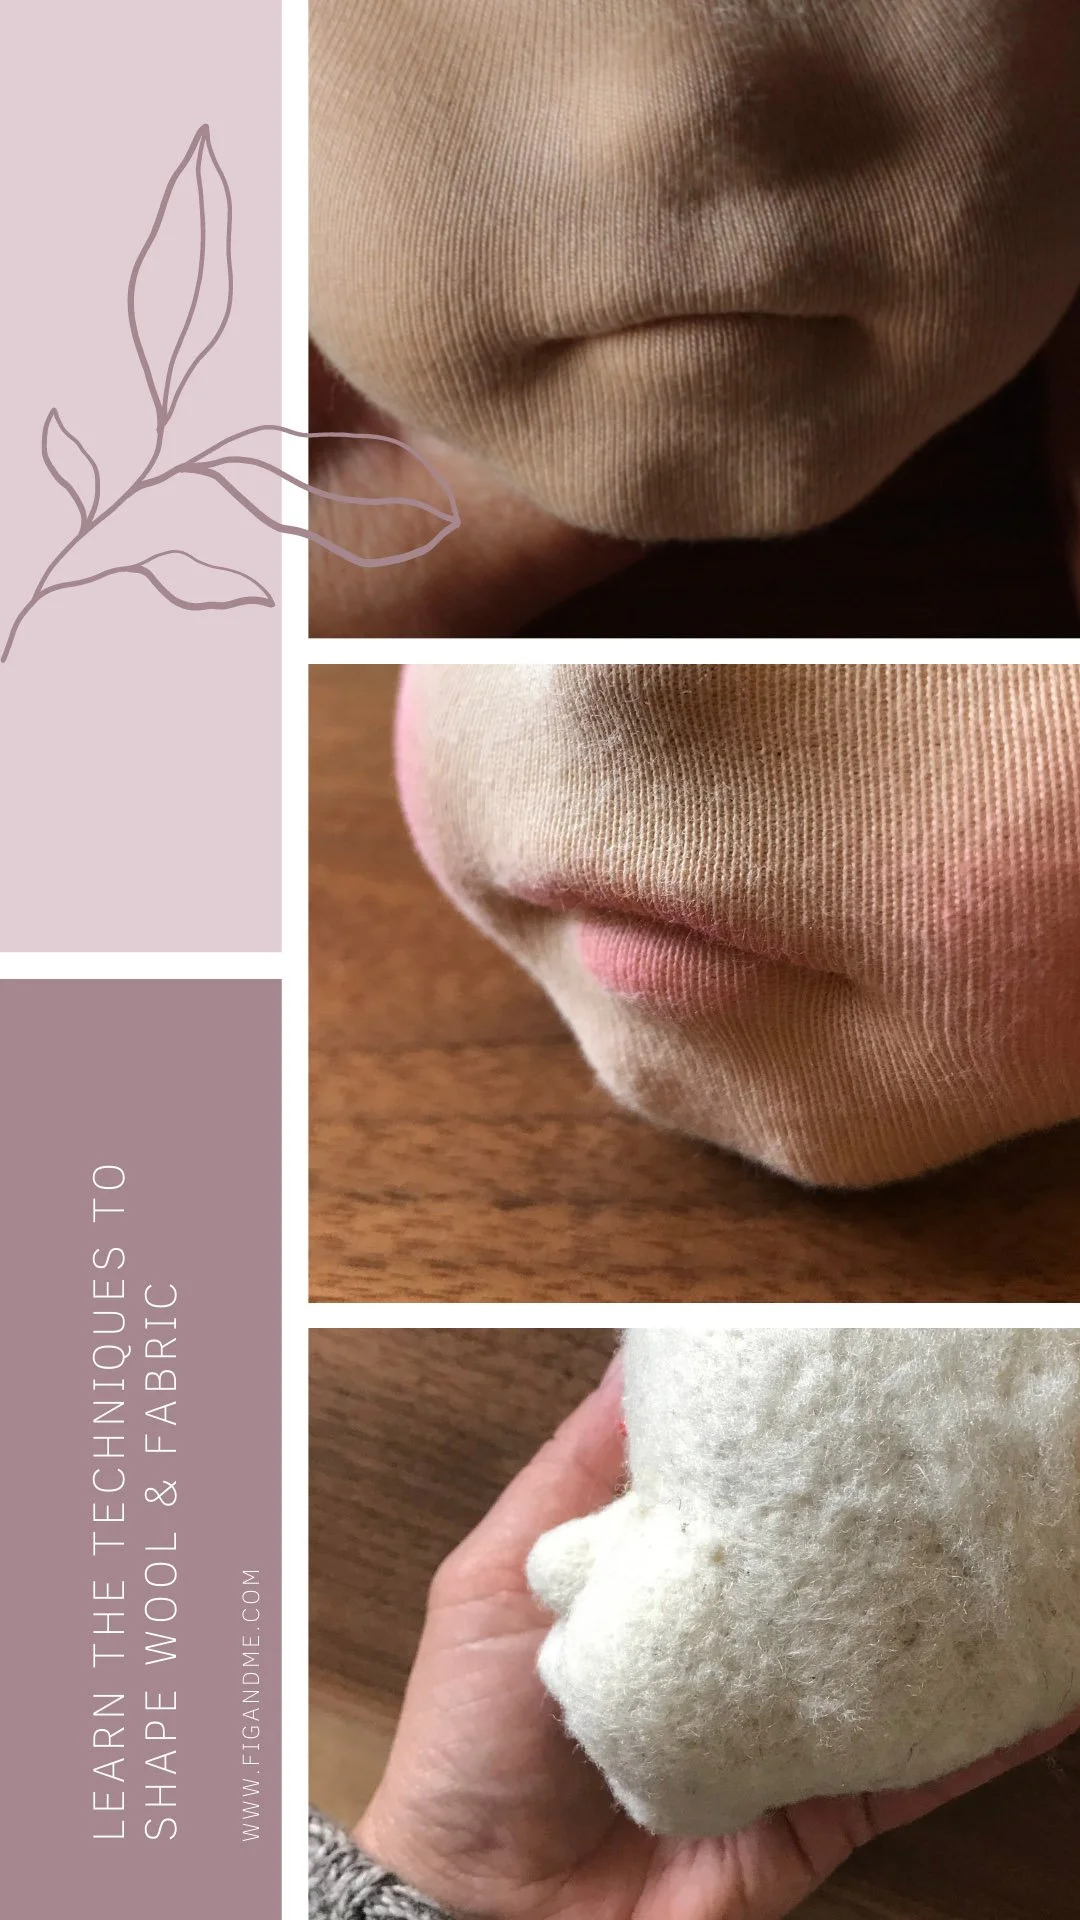
If you would like to learn how to sculpt a more subtle face, with lips, nose, cheeks, chin, etc. and how to cover the head with skin fabric without the use of glue, this class is for you.
If you have been adding details to your doll’s faces with needle felting techniques and then discover that most of your work disappears once you cover the doll, then you will learn how to firmly sculpt doll faces and how to make sure the doll is of high quality so all the face details stay there not just once you cover it, but for years to come!
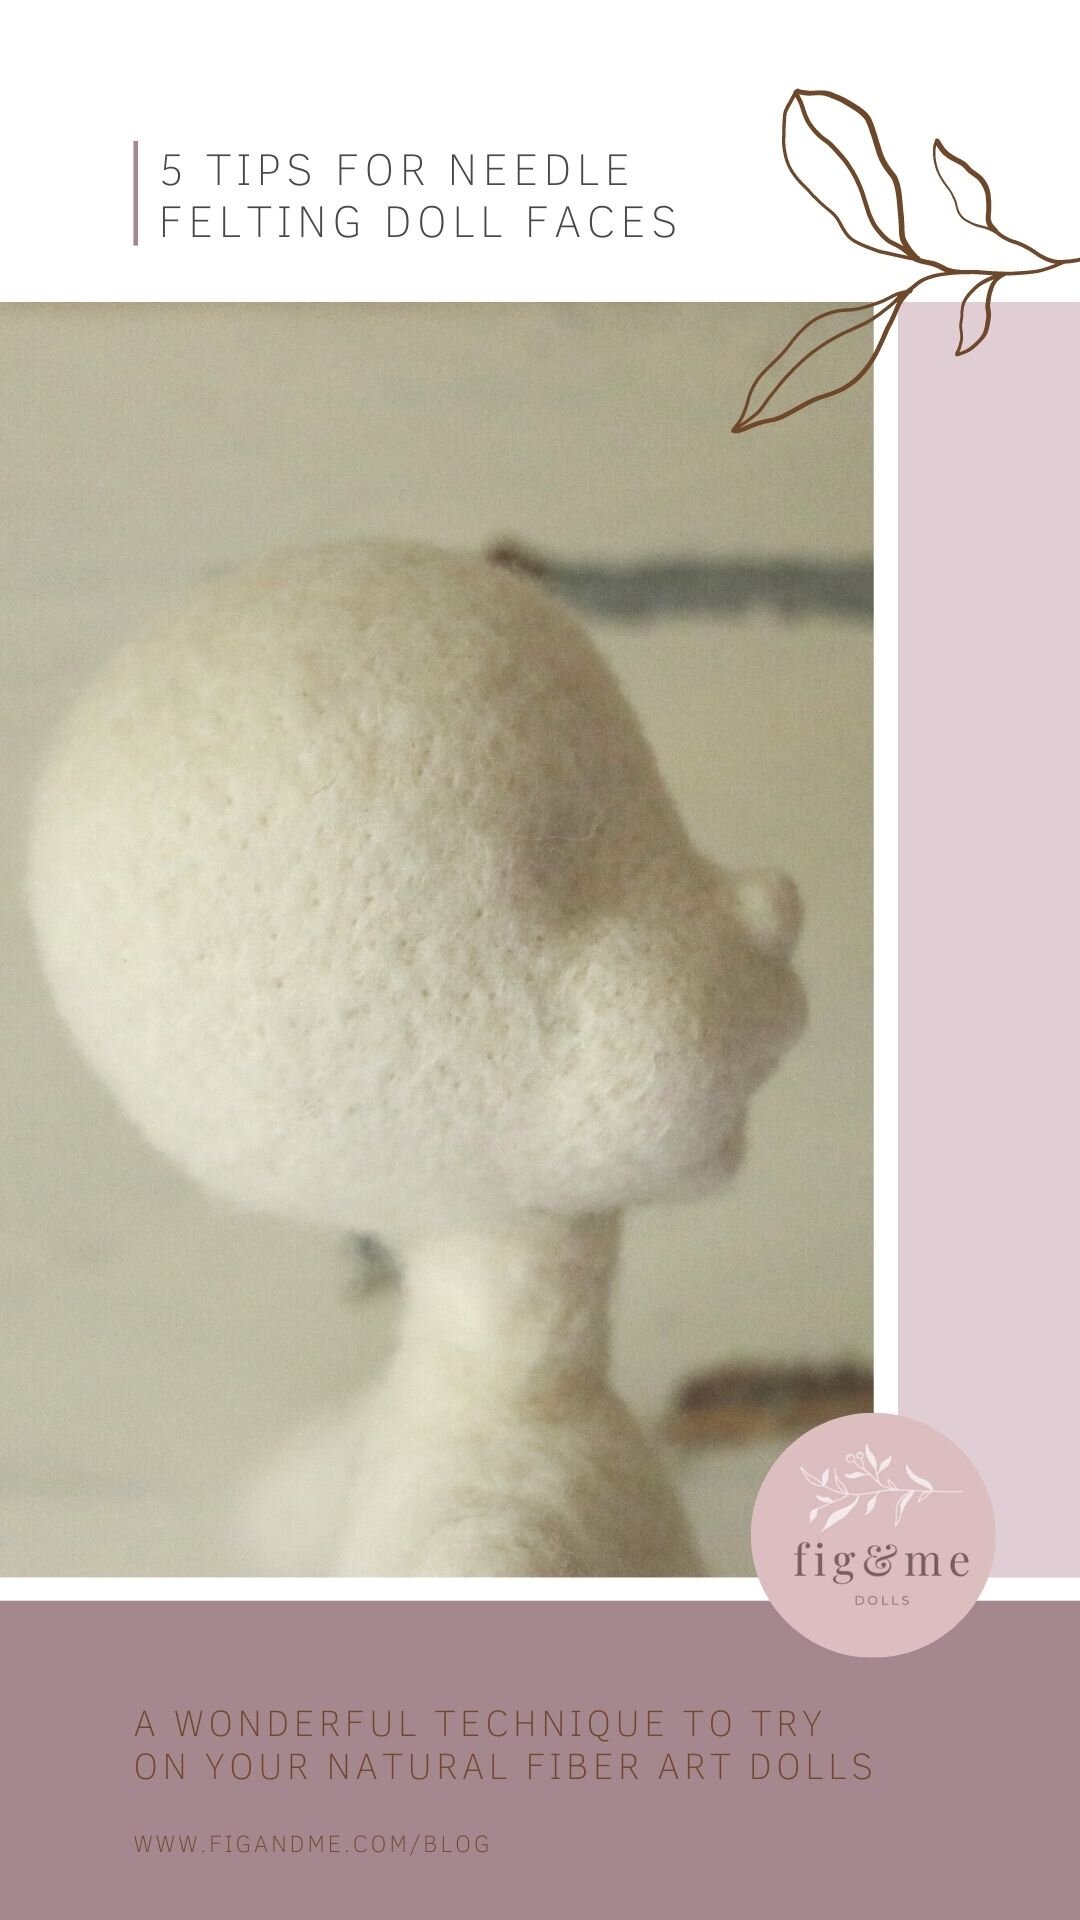
Needle felting, just like dollmaking, is an art form in itself. You are literally sculpting the wool into shape and firming it up with repeated insertions of the barbed needle.
We dollmakers that love to use natural materials in our creations, make use of needle felting (also called ‘dry felting’) to add shape and expression to the faces and bodies of our dolls.
This is a time consuming technique, when done right, and it creates a very close relationship between you and your doll, as you spend hours away bringing all the features to life.
It allows you to create more resemblance to the facial features of a loved one, if that is your thing; it also gives you the opportunity to create a more defined and personal style to your doll faces, depending on how you sculpt their features.
I created this needle felting online class, to teach dollmakers from all walks of life, how to sculpt a doll’s face, while keeping the proportions close to a young child, around 4 to 5 years of age.
The class is taught in 13 practical lessons and it also includes a lengthy discussion of needle felting techniques plus a glossary so you understand all terminology used.
It provides a PDF that tells you exactly all the materials and tools you will need, what to do if you break a needle and gives you guidance regarding the class restrictions.
Head templates are provided so you can follow the shaping of the head more accurately and I discuss at length the proportions of the face features.
No eye embroidery process or body pattern is provided.
The entire class is taught via videos, slow paced and very well explained in English. You can pause, rewind and watch as many times as needed.
You can access it on your computer or mobile device.
If you would like a more thorough description of the class, what it includes, a little video previewing the content and more, please visit this page: Sculpting a Doll’s Face in Wool | Young Child Edition
Here is a little bit about the ingredients we use in the class:
Ingredients and tools
Here I am going to go over all the tools and materials I use so you can understand them and substitute them if necessary.
Wool I prefer to use wool batting, but feel free to use wool "stuffing", wool top or wool roving. For rolling the head I recommend wool batting cut into strips or wool roving. For felting I recommend wool batting or wool top.
Skin fabric I use 100% cotton fabrics, with no lycra at all. The two brands I use the most are De Witte Engel and Laib Yala. You can use them both fine, they are very high quality fabrics that will stand the test of time, with very low pill action.
Stockinette This is the material used to bind the doll head. You can use cotton gauze just the same. Stockinette is just a slightly denser fabric.
Felting needles Felting needles come in a variety of gauges, styles and purposes. Since I am using coarser fibers in my wool batting, I gravitate to use a star/triangle needle gauge 36 by the brand WizPick. If you are using finer wools, like merino top or roving, you can use a Gauge 38.
Felting tools Again, there is a lot of variety. I have tools that look like a pen (made by Clover), that hold up to three needles, and one that looks like a fat highlighter that holds seven needles and several wooden handles that can hold anything from 4 to 8 needles. Felting tools come in handy when you are trying to make the bulk of the work go faster but I don't like to use them when I am shaping areas, I go for the single needle for more symmetry and accuracy.
Mesuring tape You will need one a lot in this class so make sure yours is reliable by placing it over a ruler to ensure it hasn't stretched with continued use.
Sewing gauge This is usually a metal tool with a sliding bar that helps you gauge seam allowances; I like to use it a lot to push fabric into crevices, to measure widths and heights of doll eyes as I am embroidering, etc.
Calipers I also have a digital caliper and it comes in handy for the same purposes as the sewing gauge but to keep the class simple I didn't use it here. It is handy to have though, especially when you start needle felting doll body parts separately.
Digital scale Very handy to weigh the wool before you use it and see how your wool measurements compare to mine in regards to weight.
Sewing machine We obviously use this a lot in our dollmaking. I don't think you need a fancy one, as long as your sewing machine does a sturdy straight stitch and a good zigzag stitch, that will carry you very far in your dollmaking journey.
Sewing threads I use 100% polyester in all my sewing. I do not run the thread through beeswax, I would only do that if I am using linen thread and I am handsewing woven fabric with it.
Machine sewing needles I sew doll bodies using a Universal sewing needle, 70/10 or 65/9 by Schmetz. If this is not working for you, then I recommend a ballpoint sewing needle for your sewing machine when sewing doll skin fabric.
Handsewing needles I use a variety of craft and hand sewing needles. Favourite brands are John James, Piecemakers and Singer.
Pins For the purpose of working on the doll's head I like to use small sewing pins with glass heads. I reserve other kinds of sewing pins for making doll clothing or shoes.
Scissors I like to use normal sewing shears for cutting larger pieces of fabric but when I am tailoring skin fabric to a doll's head I like to use smaller scissors for more accurate cuts, as well as fabric snips to cut sewing and craft threads as I work.
Dissapearing ink marker I use two different kinds: the one that dissappears with air/time and the one that needs to be diluted with water to go away. Always test on a piece of extra fabric first. I use these types of markers on the right side of the skin fabric when I am marking where to make stitches or the shape of the eyes.
Soft lead pencil For tracing doll patterns over the skin fabric (on the wrong side) or marking features on the wool while I am sculpting, I normally use a soft lead pencil.
Long dollmaking needle My favourite brands are Piecemakers, Prym and Bohin. Do not use long craft needles or upholstery needles, as the eye of the needle is very wide and it will damage the skin fabric.
Hemostats or forceps These metal tools come in very handy to turn fabric pieces right side out, to pull needles through compacted wool heads, to pull fabric, etc. I have them in different sizes but the size I use the most is the 6" and 5" long ones.
Craft thread I also have an entire collection of cotton craft thread and crochet threads that I use to sculpt with. I highly recommend Terko Satin by Coats as it is very thin but very strong and I use it to sculpt the spine, tie the neck and for doll joints.
Sculpting lips threads For sculpting lips I use a variety of DMC threads: perle cotton #8 and #80 are my favourites, but sometimes I use two strands of traditional cotton embroidery floss as well.
Blushing To blush a doll's face I normally use a block of beeswax crayon by Stockmar, and I rub it on a piece of leftover skin fabric. You can use different colours. I do not recommend using chalk pastels or even make up blush. The first one needs to be sealed and the other one has oils in it that could potentially stain the fabric. If you want the colour to be more permanent, then using watercolours on fabric will be a more permanent solution.
I am teaching you a very nuanced and elegant aesthetic to sculpt doll faces via this class. I do not exaggerate any feature, a common misconception, in order to make it visible through the fabric.
You will be adding detail without distorting or exaggerating the face features of your doll. You will create a firm sculpture that will withstand the test of time.
Keeping symmetry, but also harmony in mind while you sculpt. Things that are extremely important when you needle felt doll faces.
If you want to learn how to needle felt a doll’s face and then cover it in fabric, without all your features disappearing, without having to use glue to tack the fabric down, this class will give you all the necessary technique and knowledge to do it.
Always remember: practice makes perfect.
I hope this class starts you on the right foot and that you become an experienced and devoted dollmaker.


