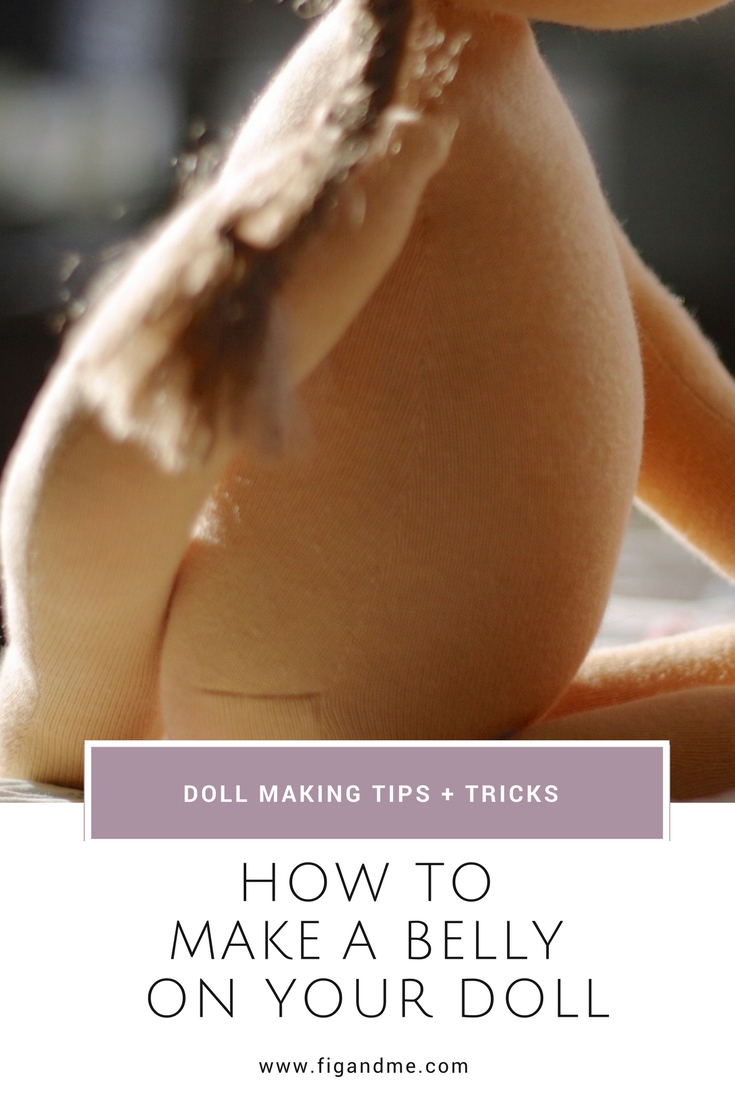
Dollmaking tips, how to create a little belly on your handmade doll.
One of the simplest way to add a little “extra” to your natural handmade cloth doll, is the addition of a pot belly.
Wether is in the design of your pattern, or the way you stuff your doll, taking care to create the shape of a rounded belly makes your doll ultra special. It adds a certain charm and a bit of realism without getting too much into detail.
Let's go about figuring out different ways you can achieve this.
Now, I have to confess that I don’t always make a pot belly for my dolls. Some require it, some ask for it, but not all of them sport a round tummy.
For me it depends on the personality of the doll I am creating. For example, if I am making a doll that is mirroring a rather small child, with a penchant for sweets then I would normally add the little rounded belly.
If my doll is a more languid creature, all skin and bones, she would look very odd with a protruding belly. Mind you, is all in your perception, in the ideas you have about the doll you are creating.
I encourage you to think of your doll personality, and to vary from time to time the addition of details, to keep your dolls interesting and unique.
Now, the simplest, most easy way to create a belly is to design it from the get go. I have different patterns for my styles (Little Fig, Petite Fig, Figlette, the Baby, etc) so when I am making a doll in x style I don’t vary the pattern, I just add this little detail.
Creating a belly with pattern alteration
These come to mind as useful ideas in pattern alterations to create a belly for your doll:
Create a top centre dart to diminish the chest and therefore have more fabric around the middle/bottom part of your torso.
Add two mirrored darts around the mid-section, a little bit down from the waist, going from the side seams to the belly button (but with enough space in the middle to create a belly button and not have a full seam going across the belly). If you are to create this kind of dart, please make them curved so that you don’t end up sewing a rhomboid belly. The knit fabric will allow you a bit of leniency but it is much better to sew them in a curved fashion from the get go. This type of darts on the back piece of your doll torso give you space to create a bum. If you decide to add darts to both patterns pieces, back and front, place them off-kilter to eliminate bulk in the seams and for a more pleasing look.
Create a four-part torso so you will have two symmetrical pieces for the front, with a centre seam; and two identical pieces for the back as well. Now all these pieces could also have the addition of darts to create even more protrusion, it really depends on bow prominent you want to make the belly of your doll. But I think this is the way in which you can control the shape of the belly with more ease. Think of the pattern pieces of a teddy bear.
All the above recommendations require altering your doll pattern to have such level of detail and to allow you to stuff it into the shape you desire.
Since I don’t want all my dolls to have protruding bellies, I only have darts on the back, because all my dolls do have a bum.
Creating a belly by stuffing
In order to achieve the belly when I need it, I create a second rolled ball of wool, as big as I want it and can get it inside, and then roll the entire torso as one big piece.
When I stuff the doll head/spine/belly inside the sewn torso, it all takes shape. If you were to take the doll apart, you would find that it’s one piece.
The head, torso, belly and bum, is all one chunk of wool. I do not stuff my torso with small pieces of wool, I roll the wool around the spine and added belly, and sculpt it with needle-felting techniques.
It takes more time to do it this way, but I am able to create a small chest with a little waist, gentle sloping shoulders, and a pot belly with defined buttocks on the back, and still feels very firm to the touch.
If you want to see me doing that, adding a belly with needle-felting techniques, I created a video for my Patreon subscribers:
So there you have it. Those are the ways that come to mind when you are trying to create a protruding belly for your doll.
I hope the photos and my explanations have been of use, and if it’s still not very clear, just let me know in the comments and I will try to answer as best as possible.
Also, if you have any more questions be sure to let me know so I can address them in the near future. Hope this gives your doll making some food for thought and you consider adding a belly here or there to your handmade dolls.


